
How to Fix a Technics SL-E10 CD Player: Laser and Display Repair Guide
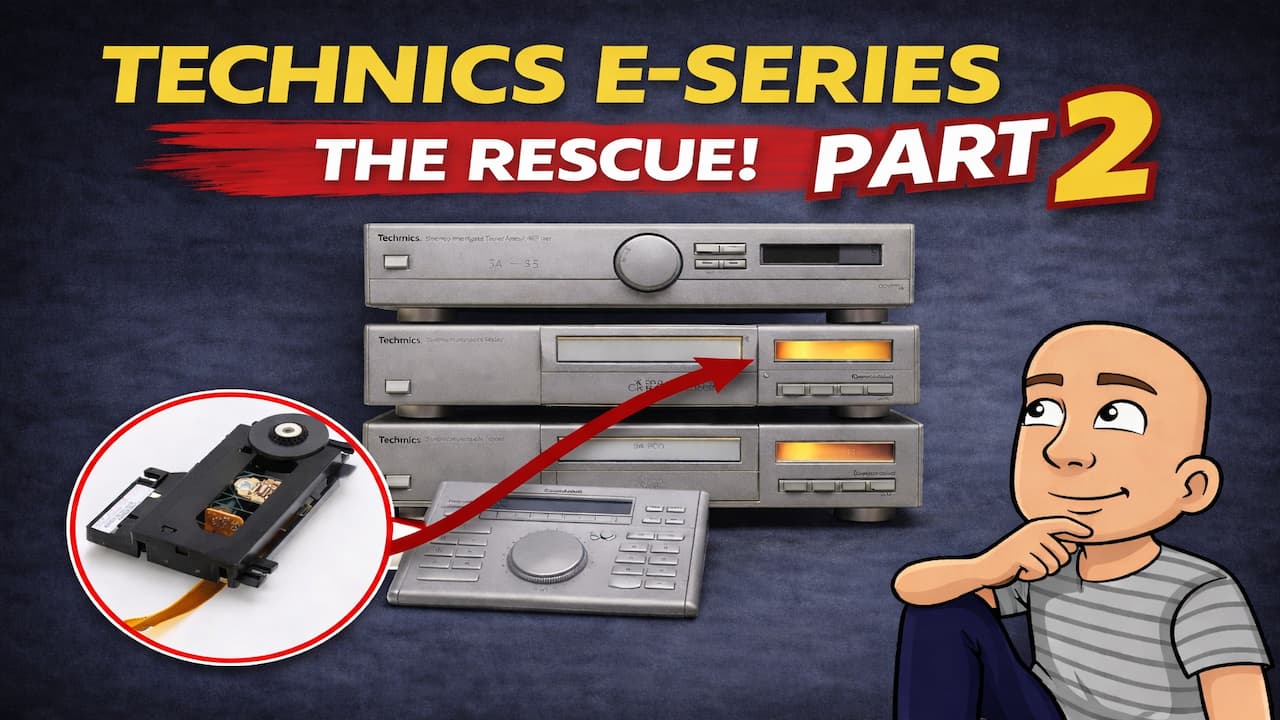
Vintage audio gear offers great sound and nostalgia. However, old components can fail. A common issue with the Technics SL-E10 CD player is a broken laser or a dead display. This guide walks you through the repair process. We cover how to diagnose the problem, source rare parts, and bring your classic player back to life. This is the second part of restoring a full Technics E-series system.
Diagnosing the Problem
The player showed clear symptoms. The main display backlight was not working. More importantly, the unit would not read discs. When powered on, the display only showed “0 0”. The disc tray would not spin or attempt to read.
The first step in any repair is a visual inspection. This helps rule out simple issues. For CD players, a dirty laser lens is a common culprit. Dust or grime can block the laser from reading the disc surface. Cleaning the lens is an easy first step.
Opening the Unit and Initial Checks
Opening the Technics SL-E10 requires care. Unlike the matching amplifier, this model has a few extra screws. There are two screws on each side. You also need to remove two screws from the back panel.
Once the outer case is off, you reach the internal components. To service the laser assembly, you must first remove the front panel. This panel has three screws along its top edge. After removing these, you find a hidden screw behind the panel. Taking the front panel off gives you full access to the CD drive mechanism.
The laser lens looked clean. Despite this, we cleaned it carefully with a proper lens cleaner. This did not solve the problem. The laser assembly did not move at all when a disc was inserted. This pointed to a deeper mechanical or electrical fault.
Removing the CD Drive Assembly
The next step is to remove the entire CD drive. This lets you inspect and repair it on your workbench. You must disconnect several cables from the main circuit board first.
Key steps to remove the drive unit include:
- Unplugging the ribbon cables connecting the drive to the main board.
- Removing the four screws that secure the drive to the chassis.
- Detaching the small motor cable.
With the drive out, you can separate the laser assembly from the main frame. Small plastic clips hold a metal shield in place. Carefully bending these clips back releases the shield. Underneath, you find the main spindle motor and the laser sled.
A small rubber belt drives the laser sled movement. In this unit, the belt looked very fresh. This suggested someone had worked on the player before. They may have swapped parts but not fixed the core issue.
The Challenge of Sourcing the Laser
The SL-E10 uses a specific and rare laser unit. Many CD players from this era use common parts like the KSS-210 or KSS-1201 laser. The Technics SL-E10 is different. It uses a Panasonic-specific laser module.
This laser was not designed for high-end separate components. Panasonic used it in cheaper products like boomboxes and car stereos. Technics likely used it from a parts bin to save costs. This makes finding a replacement very hard today.
Finding a new old-stock (NOS) laser for this model is nearly impossible. The best solution is to find a donor machine. You need another device that uses the exact same laser mechanism. We sourced a laser from a broken Panasonic micro system. The CD drawer was different, but the laser mechanism was identical.
Swapping the Laser Mechanism
Replacing the laser requires moving some parts from the old unit. You must transfer the spindle motor to the new laser assembly. The spindle is the small metal platform that holds the disc. It needs to be carefully removed and fitted onto the donor laser.
The process involves:
- Gently pulling the spindle off the old motor shaft.
- Aligning it perfectly on the donor laser’s motor shaft.
- Pressing it down until a small washer clicks into a recess.
After securing the motor with its screw, you reassemble the drive. You plug the motor cable back in and reattach the metal shield. Then you fit the entire drive assembly back into the main chassis of the CD player.
Repairing the Display Backlight
With the laser replaced, we addressed the dark display. The SL-E10 uses small incandescent bulbs for backlighting. These bulbs burn out over time. They also produce a lot of heat. This heat can make the surrounding plastic brittle and discolored.
In this unit, the plastic housing for the bulbs was brown and cracked. One of the mounting tabs had broken off. This is a common issue with vintage electronics.
To replace the bulbs:
- Remove the plastic cover from the back of the display board.
- Carefully desolder the old bulbs from the circuit board.
- Solder new, matching bulbs in their place.
- Thread the wires back through the housing and replace the cover.
We used a cordless soldering iron for this job. It is ideal for small, precise soldering tasks. It avoids the hassle of a power cord when working inside tight spaces.
Testing the Repairs
After reassembly, the moment of truth arrives. We powered on the Technics SL-E10. The display now lit up brightly. It correctly showed “NO DISC” when the tray was empty. This was a good sign.
We inserted a music CD. The disc spun up. The laser sled moved smoothly across the disc. The track information populated the display. The repair was a success.
The core problems were solved by replacing two parts: the faulty laser mechanism and the burnt-out display bulbs.
Conclusion and Final Thoughts
Fixing the Technics SL-E10 was a two-part job. The display issue was simple. It just needed new bulbs. The disc reading problem was more complex. It required a rare replacement laser.
This repair highlights a key point about vintage audio. Some parts become very hard to find. You often need to be creative. Finding donor machines is a common strategy for repair enthusiasts. It keeps classic gear out of landfills.
The successful repair of the CD player brings us closer to a fully restored Technics E-series system. The matching amplifier was fixed in a previous guide. The final part of the project will be the cassette deck. Once that is done, the complete system will be functional again.
Restoring old electronics is rewarding. It preserves the engineering and design of the past. It also teaches valuable skills in diagnosis, repair, and patience. If you have a broken SL-E10, this guide shows it can be fixed. The hardest part is finding that specific Panasonic laser.