
How to Fix a Snapmaker U1 3D Printer Extruder Blockage
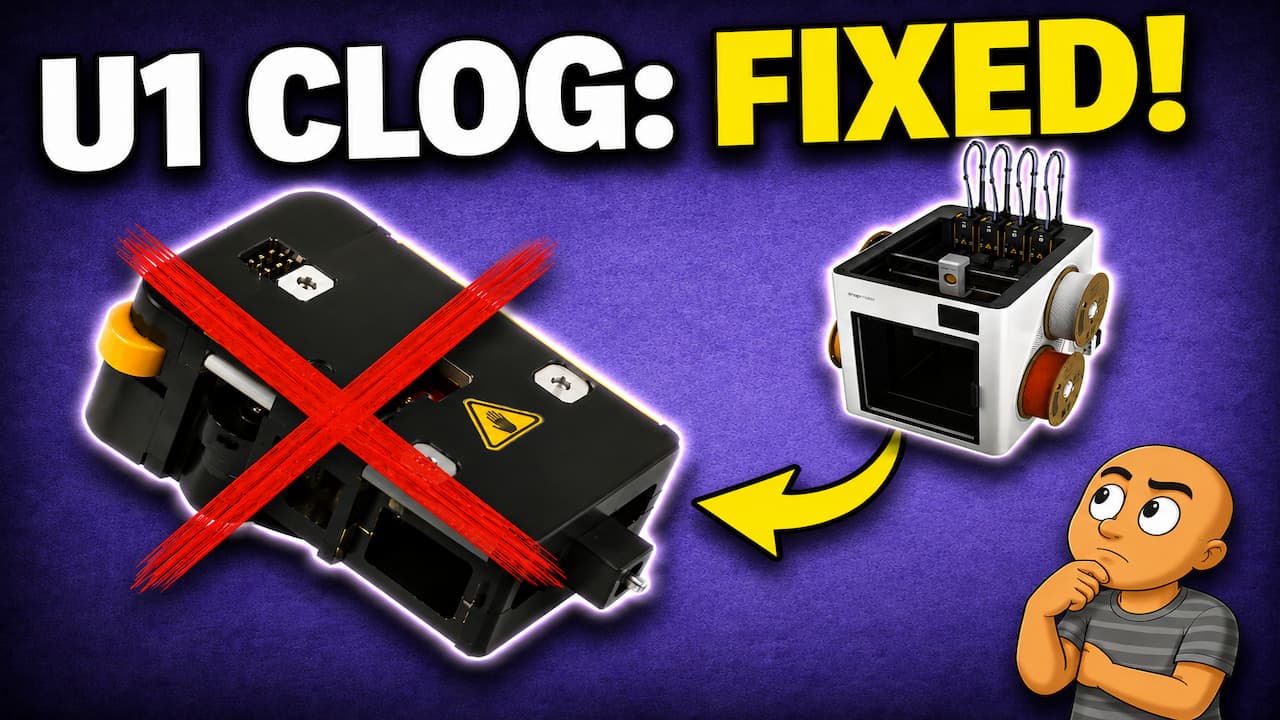
A clogged extruder can stop your 3D printer dead in its tracks. When flexible filament like TPU gets stuck, it can ruin a long print. Taking apart your printer’s tool head might seem scary. This guide makes it simple. You will learn how to safely disassemble a Snapmaker U1 Extruder. Follow these steps to clear a blockage or replace a hot end.
Getting Started with Disassembly
You need a few basic tools. Get a set of screwdrivers. The screws on the Snapmaker tool head are not all the same size. Be ready for different screw head types.
Start by removing the top cover. This is the first place to put your tools. You will see three screws on the top piece. Take all of them out. The cover will lift right off.
Next, find a small screw on the front lower area. This screw is tricky. You may need to use your fingernail to help lift it out. Put this small screw in a safe place. You will need it later.
Removing the Nozzle and Main Board
Now, take off the nozzle. Find the two screws that hold it in place. These screws can be very tight. You might need to use a bit of force to start them. Once they move, you can finish with a normal screwdriver.
After the nozzle is off, you need to remove the top circuit board. This gives you better access to the parts inside. The board is held by two screws. One screw is shorter and thicker. The other is longer and thinner. Do not mix these screws up. Keeping them separate will help later.
Lift the board away gently. Be careful with the wires. You do not need to disconnect them.
Taking Apart the Tool Head Assembly
With the board out of the way, you can see more. You will find several more screws inside the tool head. These screws are also different sizes. Some have bigger heads. Some are smaller. Remember where each one goes.
Remove all these internal screws. Keep them organized. A small dish or magnet tray works well for this.
Once all screws are out, the main body will come apart. Wiggle the parts gently. They should separate. The fan will stay in place. That is normal.
Flip the assembly over. You can now see the extruder mechanism inside. It is the part that pushes the filament.
Accessing and Fixing the Extruder
The extruder is held in by its housing. You need to take this off. It fits tightly onto a bearing. Wiggle and twist it carefully. It will come free.
Now you can see the problem. In this case, TPU filament had wrapped around the gear. It caused a bind. The printer did not know there was a jam. It kept trying to print. This results in a failed print with empty layers.
Clear out any stuck filament. Check the gear and the path the filament takes. Make sure everything moves freely.
Reassembling Your Tool Head
Put everything back together in reverse order. This is where your organized screws are very important.
Start with the extruder housing. Slide it back over the bearing. Listen for a click. Make sure the bearing does not fall out. It can pop out easily if you are not careful.
Important: Watch the wires. One wire runs near the hot end. You must tuck this wire into its plastic slot. If the wire touches the hot nozzle, the heat can damage it.
Next, replace all the internal screws. Find the four main screws for the core assembly. Put them back in. Then find the tiny front screw and put it in its place.
Putting the Covers Back On
Now you can put the top circuit board back. Line it up and use the two screws you saved. Remember, the longer, thinner screw goes in its specific hole.
Attach the front shroud. It just clips into place. You should hear or feel it snap on.
Finally, put the top cover back on. Secure it with the three screws you removed first.
Final Steps After Reassembly
Your tool head is now back together. Do not start printing yet. You must recalibrate your Snapmaker A350. The machine needs to relearn the position of the tool head. This ensures your next print is accurate.
Go to your printer’s calibration menu. Follow the steps for tool head alignment. Once calibration is complete, you are ready to print again.
Helpful Tips for the Process
- Keep Screws Organized: Use a small container with sections. Label them if needed. Mixing up the screws will slow you down.
- Work on a Soft Surface: Use a towel or mat. This protects your tool head and stops small parts from rolling away.
- Take Pictures: Use your phone to take photos at each step. This gives you a visual guide for reassembly.
- Check the Bearing: When putting the extruder housing back, ensure the bearing is seated correctly. It should spin smoothly.
Conclusion
Fixing a Snapmaker extruder blockage is a straightforward process. You do not need to be an expert. With patience and the right steps, you can solve the problem.
The key is staying organized. Keep track of all the different screws. Pay close attention to the wires and the bearing. Always do a recalibration after you put the tool head back together.
This repair can save your print. It also saves you time and money. You will not need to wait for a replacement part. With this guide, you can get your 3D printer running again quickly.