
E1 Error? How to Fix a Pioneer CLD D925 LaserDisc Player: A Step-by-Step Belt Replacement Guide
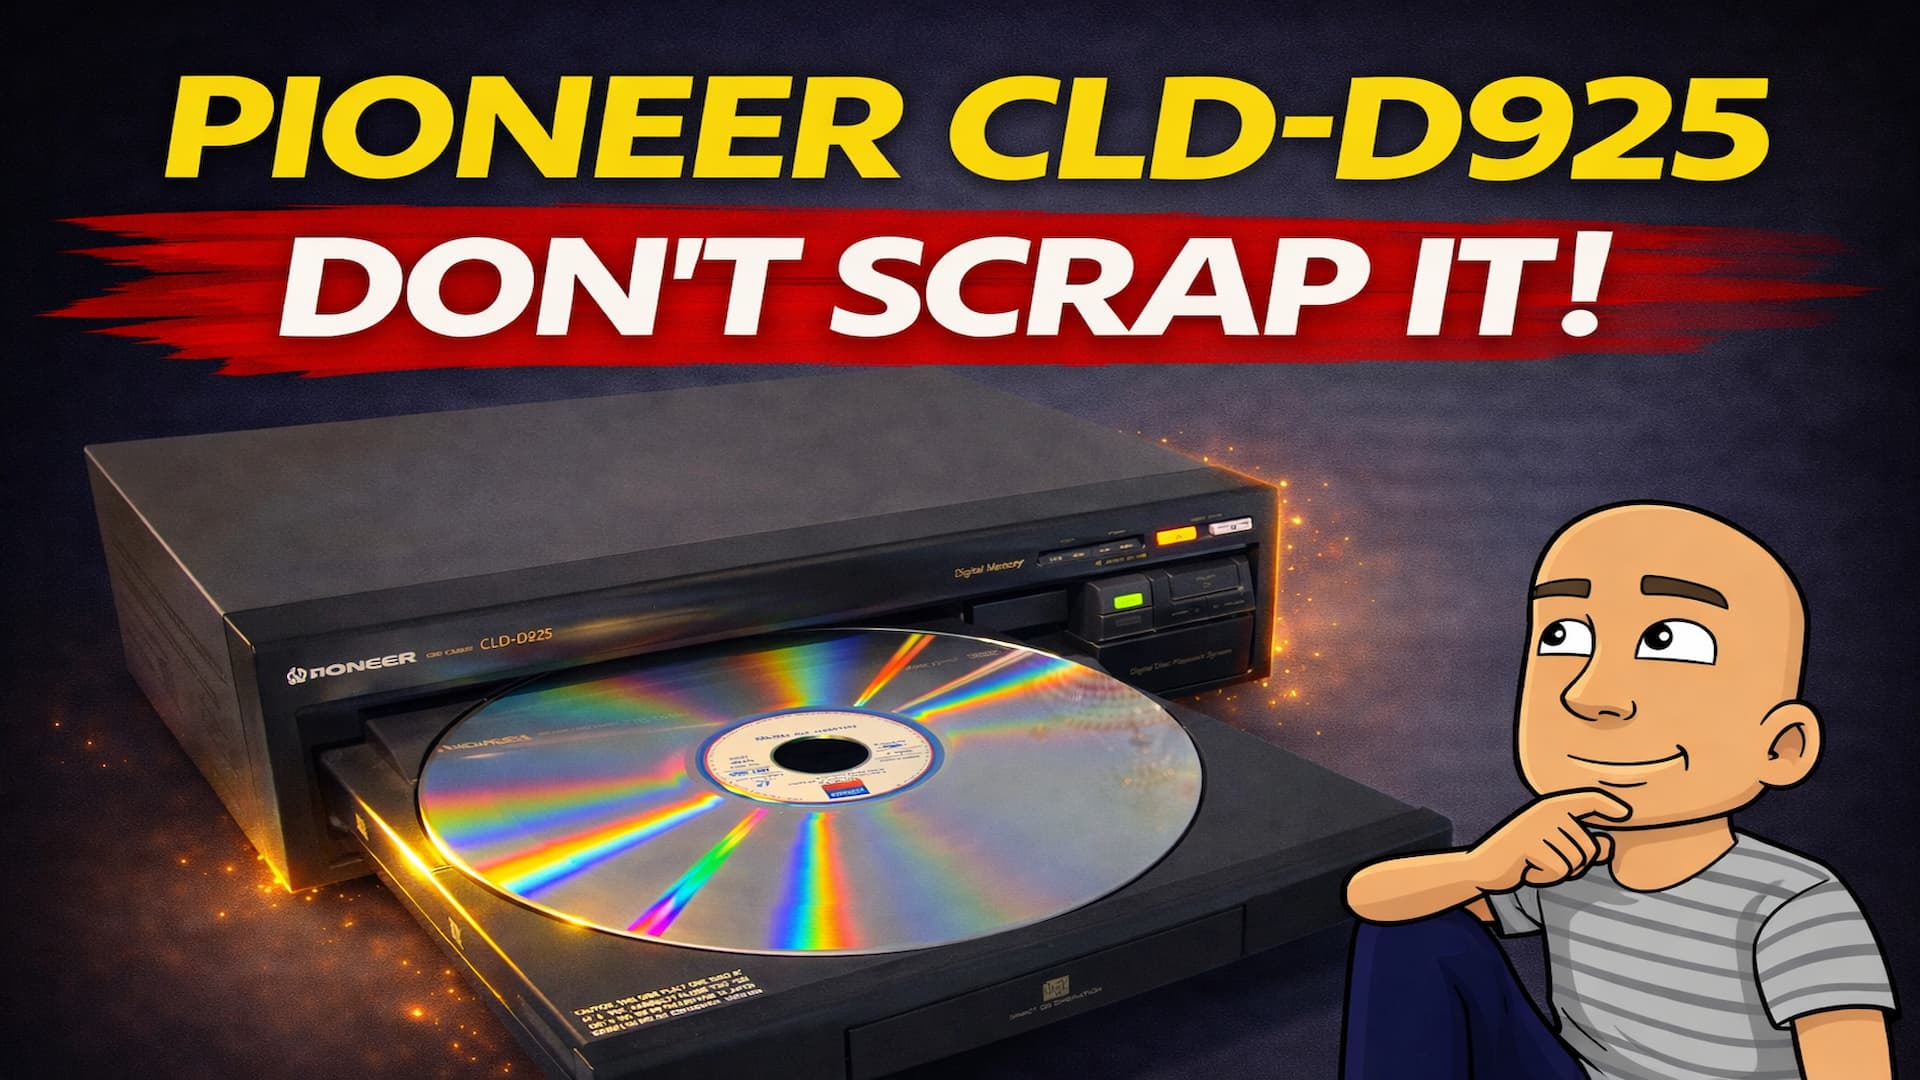
Do you have a classic Pioneer CLD D925 laser disc player that won’t play your movies? If the machine struggles to load a disc or makes strange noises, you’re not alone. This was one of Pioneer’s final and most popular laser disc players. A common point of failure is a set of old, worn-out belts. The good news is that fixing it yourself is a straightforward task. This guide will walk you through the simple process of replacing the drive belt, bringing your vintage player back to life so you can enjoy those large-format discs once more.
Understanding the Pioneer CLD D925
The Pioneer CLD D925 is a beloved model. It represents the last generation of dedicated laser disc players Pioneer made. After this model, the company moved to combination players that could also play DVDs.
These machines are known for their reliability, but age takes its toll. The most frequent problem is a failing belt. When the belt stretches or deforms, the player can’t properly lift the heavy laser disc. You might hear the motor struggling. Often, the player will seem fine without a disc. The problem only shows up when you try to load a movie.
This repair focuses on that single, common issue. With a new belt, your player should work like new.
Tools and Preparation
You don’t need many tools for this job. The main thing you need is a replacement drive belt. You can find these online from electronics repair shops or auction sites. Make sure you get the correct size for the Pioneer CLD D925.
You will also need a screwdriver. The player uses common screws, so a standard Phillips-head screwdriver should be fine.
Before you start, find a clean, well-lit workspace. Make sure the player is unplugged from the wall for safety. Remove any disc from the tray if you can.
Step 1: Opening the Player and Removing the Tray
First, you need to open the player’s main case. There are usually two screws on each side and three screws on the back. Remove all these screws and carefully lift the top cover off.
Now you need to remove the disc tray. If your player has power, you can turn it on and open the tray normally. If the tray is stuck, you can open it manually.
Look inside the front opening. You will see a small white gear or cog. Use your fingers to turn this cog. As you turn it, the tray will begin to open. Keep turning until the tray is fully extended. You can then gently pull it all the way out.
To remove the tray completely, locate two plastic clips. These are on the inside edges of the tray, under the chassis rail.
- On the left side, you will see a clip.
- On the right side, you will see another clip.
Push both of these clips inward at the same time. While pushing the clips, use your other hand to pull the tray forward. The tray should slide out smoothly. Set it aside carefully.
Step 2: Finding and Replacing the Old Belt
With the tray removed, you can see the inside of the loading mechanism. Look for the drive belt. It is a small rubber loop that connects two parts of the mechanism.
You will likely see the old belt right away. It might look stretched out or out of shape. The belt in our example was almost oval and had a permanent kink in it. This is why it couldn’t grip properly.
To remove the old belt, just pull it off. It should come off easily. Take your new replacement belt and stretch it into place on the same posts. Make sure it is seated correctly and has a snug fit.
Step 3: Reassembling the Tray and Testing
Putting the tray back is the reverse of removal. It’s important to do this step correctly.
- Line up the tray with its guide rails inside the player.
- Gently slide the tray back into the machine.
- You need to align the two plastic clips with their slots. Do this carefully.
- Push the tray in until you hear or feel both clips click into place at the same time.
A crucial tip: If the tray is not square and seated properly, the mechanism will struggle. It might not open or close at all. Take your time to ensure it is aligned.
Before you put the case back on, it’s time for a test. Plug the player back into the wall and turn it on.
The tray should open and close smoothly. Now for the real test: load a laser disc. Place a disc on the tray and press close. Watch the mechanism that lifts the disc. With a new belt, it should lift the heavy disc without any hesitation or strange noises.
You will see the laser assembly do something amazing. It physically moves from the center, travels all the way around the edge of the disc, and comes up on the other side. This is how the player reads both sides of the disc without you having to flip it over.
If everything works, you have succeeded. Unplug the player again and replace the top cover. Screw all the side and back screws back in.
Keeping Your LaserDisc Player Alive
Replacing the belt is often all it takes to fix a non-working Pioneer CLD D925. This is a common and easy repair. It breathes new life into a classic piece of home theater history.
These players are a direct link to a different era of home video. There is a unique charm to loading a large, shiny laser disc. It’s a physical experience that streaming cannot match.
By doing this repair, you are preserving technology. You are keeping a part of film history working. It also saves you money compared to buying a new-old-stock machine.
Do you have an old laser disc player gathering dust? Try this repair. With one new belt and about thirty minutes of time, you could be watching your collection again. Share your repair story or questions in the comments below.