
How to Fix a Vintage Aiwa AD-WX929 Twin Cassette Deck by Replacing Belts
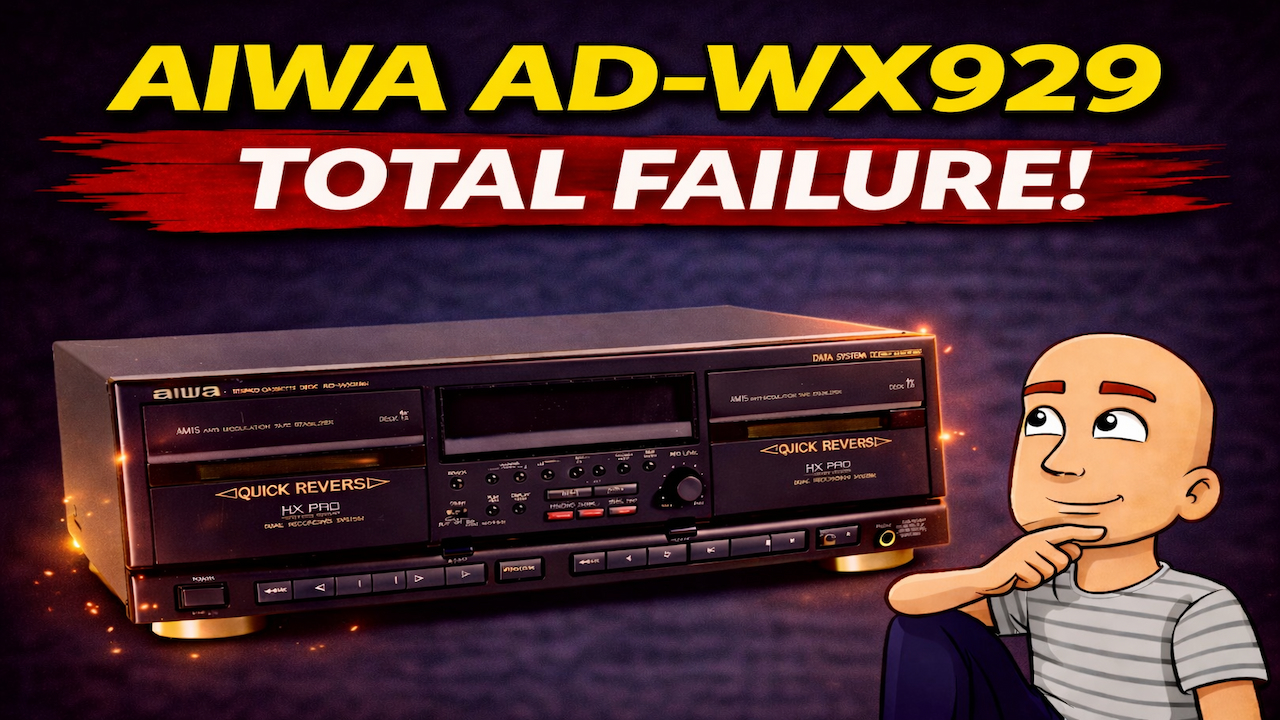
Cassette tapes are back in style. Many people are hunting for vintage decks to play their old music collections. A common find is the Aiwa ADWX929, a twin cassette deck from the brand’s final years. Like most old decks, it often has one major problem. The rubber drive belts inside turn gooey or stretch out over time. This stops the tapes from moving. The good news is that this is a fix you can do at home. This guide will walk you through the complete repair process for the Aiwa ADWX929. You will learn how to open the deck, change the belts, and get your music playing again.
Inside the Aiwa ADWX929 Twin Deck
The Aiwa ADWX929 is a special model. It was one of the last decks Aiwa ever made. It has a feature that sets it apart from many other twin decks. Both of its cassette decks can record. This is not common. On many twin decks, only one side records while the other only plays. Because both sides record, their internal parts are identical.
The deck also includes a handy remote control. But after decades, its original belts will have likely failed. You might hear the motors spin when you press play. But the tapes will not move. This is the classic sign that the belts need to be replaced.
Opening the Cassette Deck Safely
The first step is to open the deck’s case. You will need a set of screwdrivers. The Aiwa ADWX929 shows some cost-cutting in its design. The top panel has indents for two screws on each side. But the makers only used one screw in each spot. You will find three more screws on the back panel.
Remove all these screws first. After that, you can carefully separate the front panel from the main chassis. Look inside. You will likely see the old, stretched belts. They often fall completely off the pulleys.
There are a few more connections to handle:
- Disconnect the front panel from the chassis.
- Unplug the cables for the playback and recording heads.
- Release a plastic connector, often by lifting it gently with a fingernail.
Now you need to remove the tape mechanism itself. Find and remove two screws on each side of the mechanism. Also remove three more screws located underneath it. Once these are out, the whole tape assembly should lift free from the deck.
Removing the Old, Stretched Belts
With the mechanism on your workbench, you can see the belts clearly. They will be loose, shiny, and very stretchy. Carefully peel them off their pulleys. The Aiwa ADWX929 has a design challenge. One of the belts is hidden behind a small circuit board.
To replace this hidden belt, you must desolder the board. The board has solder points holding it to the mechanism. You cannot slide the new belt past the electronic parts on the board. You must detach the board completely.
A Tool for the Job: Cordless Soldering
This repair requires soldering. You need to desolder the board to get the old belt out. Then you must resolder it after putting the new belt in. A good soldering tool is key.
A cordless soldering iron can be very useful for this job. One example is a unit from a company called Fanttik. These tools heat up very fast. They often reach working temperature in under a minute. Many come with multiple tips and have storage for the tips right in the case. This makes them portable and neat for a workbench.
For desoldering, you can use a dedicated desoldering gun. You can also use a standard soldering iron with a solder-sucker tool. The goal is to cleanly melt the old solder and free the board without damaging the small metal tracks on it.
Installing the New Drive Belts
Once the board is free, you can remove the last old belt. Now you are ready for the new ones. Belts are sold in kits specific to your deck model. Make sure you get the right kit for an Aiwa ADWX929.
Follow these steps to install the new belts:
- Place the first belt on its motor pulley. There is often a secondary groove for it to sit in. Make sure the belt seats into this groove.
- Stretch the belt around the idler wheel. You will see a small plastic tab. Tuck the belt underneath this tab. This keeps it in the right path.
- Check for twists in the belt. A smooth, flat belt will run correctly.
Now you need to deal with the belt behind the circuit board.
- Place the new belt onto its pulley on the mechanism.
- Carefully line the circuit board back up with its mounting posts.
- Resolder the board’s connections to the mechanism. Make sure the solder joints are clean and solid.
- Finally, install the last belt, called the capstan belt. This one drives the flywheels that pull the tape. It can be tricky. Loop it around both flywheels. Then create a small loop to pop it onto the motor pulley. A little wiggling helps line everything up.
Once all belts are on, gently turn the pulleys by hand. Everything should move smoothly and with some tension. The belts should not slip.
Reassembling Your Aiwa Deck
You are on the home stretch. Now you reverse the steps you took to open the deck.
- Screw the tape mechanism back into the main chassis.
- Reconnect all the cables to the heads and the front panel.
- Clip the front panel back onto the chassis.
- Replace all the case screws you removed at the start.
Before you close everything up, it is a good idea to do a quick test. Plug the deck in. Put in a tape you don’t mind using for testing. Press play. You should see and hear the tape moving. The sound should play at the correct speed.
For a precise speed check, you can use a calibration tape. This is a special tape with a known tone. It helps you fine-tune the deck’s speed for perfect playback.
Do not forget the other side. The Aiwa ADWX929 is a twin deck. You must repeat the entire belt replacement process for the second, identical tape mechanism.
Conclusion: Bringing Vintage Audio Back to Life
Fixing an old cassette deck is very rewarding. You save a piece of audio history. You also gain the skills to repair other vintage gear. The Aiwa ADWX929 is a great deck to learn on. It is well-built, even with some cost-cutting. The repair is straightforward once you know the steps.
The main challenge is the soldered circuit board. This extra step might seem hard. But with the right tools and a careful hand, it is very doable. Taking photos as you disassemble the deck can help you remember where everything goes.
Once the new belts are in, your Aiwa twin deck will work like new. You can enjoy your cassette collection again. You can even make new recordings from vinyl or digital sources. This repair proves that with a little patience, you can bring old technology back to life.