
Unboxing and Setting Up the OMTech Polar Lite CO2 Laser Cutter
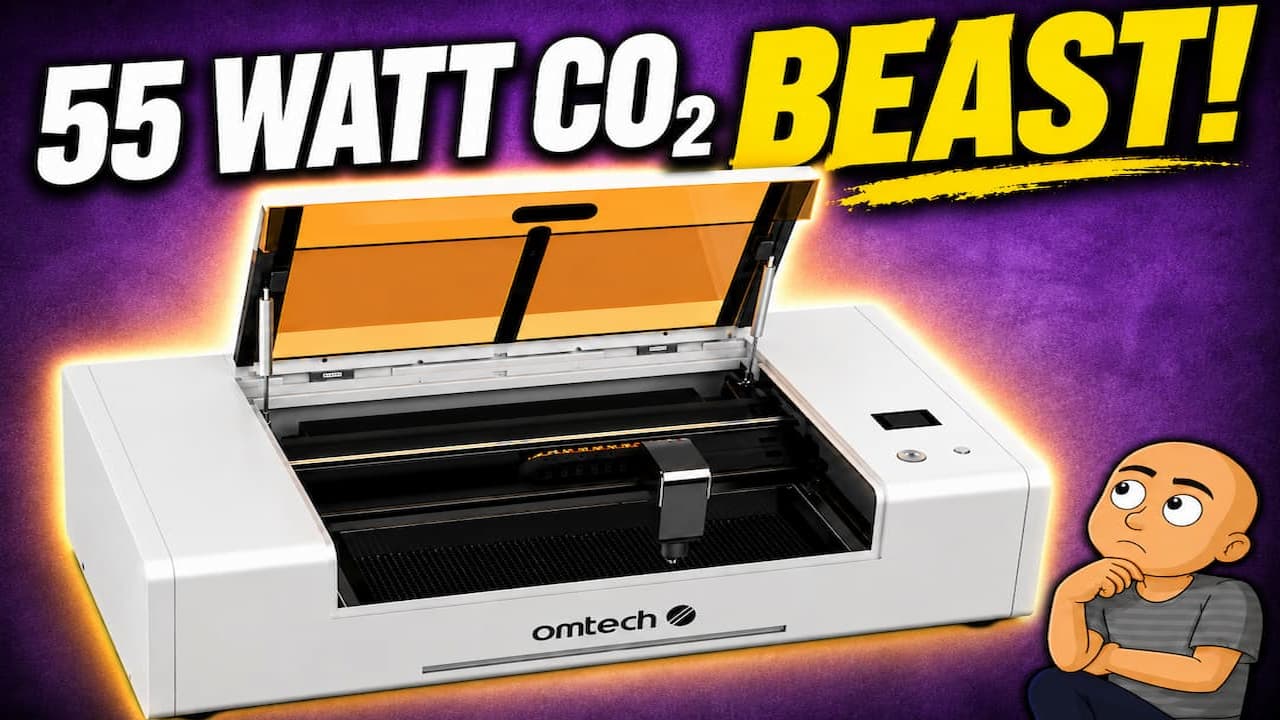
Getting your first CO2 laser cutter is exciting. It opens up a new world of projects. You can cut and engrave materials like acrylic, wood, and leather. For a long time, my projects required custom-cut acrylic parts. Buying a separate machine for this seemed like a big step. The OMTech Polar Light desktop laser cutter changed my mind. This machine is built for a home workshop. It does not look out of place next to a 3D printer.
In this guide, I will walk you through my experience. We will cover unboxing the large crate, initial setup, and installing the software. I’ll also show you how to run your first test cuts. This guide will help you get started with your own OMTech Polar Light laser cutter.
Why I Chose the OMTech Polar Light Over Other Lasers
I needed a laser that could cut both tinted and clear acrylic. This ruled out cheaper diode lasers. A diode laser add-on for my 3D printer would not work. It also costs nearly a thousand pounds. The work area is smaller too. While you use it as a laser, your 3D printer cannot print.
I decided I needed a dedicated desktop machine. The OMTech Polar Light stood out. It is a complete, self-contained system. Many CO2 lasers need an external water pump and a bucket. This machine has a built-in water cooling system. This makes for a much neater setup.
The machine has a practical work area of 300 by 500 millimeters. It can also handle larger sheets that pass through it. An optional rotary attachment lets you engrave round objects. You can engrave cups or flasks. The design looks like it belongs in a home crafting room, not a garage.
Unboxing: Your Giant Crate Has Arrived
One important warning: this machine is big. You will not grasp its size until a wooden crate arrives at your door. The unboxing process is straightforward. You just need to remove the metal clips from the crate and lift the lid.
Inside, the machine is packed well with polystyrene foam. Do not throw these inserts away. One of them contains the honeycomb build plate. You will need it.
Crucial Tip: Get someone to help you lift the machine out. Use the supplied carry straps. Once it’s in its new home, remove all internal packing materials. Look for one insert behind the head rail at the back. If you leave this piece in, the machine will fail its calibration. It will give you errors.
The box includes several helpful accessories:
- Honeycomb build plate
- Vent hose
- USB stick with drivers and software
- Starter blanks for practice
Assembly is simple. Install the build plate, fit the handle, and connect the vent hose. That is the main physical setup done.
Machine Overview: Ports, Buttons, and Features
Look at the right-hand side of the machine. You will find all the ports and the main power switch. The OMTech Polar Light has built-in Wi-Fi, ethernet, and USB.
There are two USB ports. One is for the controller. The other is for the built-in camera. There is an important detail here. If you connect to the machine via Wi-Fi or ethernet, you cannot use the camera. The camera needs a direct USB connection to your computer. I learned this the hard way. I ended up connecting both USB ports to my workshop PC.
You will also see an emergency stop button on the side.
On the top panel, you will find a reset button, a start button, and a display. The display shows the water temperature and laser power usage.
Before you power on, check the internals. On the left side, you will see the water reservoir. It has clear markings for high and low levels. The machine comes pre-filled with water from the factory. This is a nice touch that saves time.
On the right side inside, there is a port for the optional rotary attachment. I do not have this attachment, so I left it alone.
Now you can power on the machine. You should hear water gurgling through the pipes. The extractor fan should run, and air should flow. The top display will show that everything is okay. It will show the water temperature. If the water is not flowing, you will get an error message.
Installing Software: LightBurn vs. RDWorks
The included USB stick has the USB drivers and a copy of RDWorks software. I chose to use LightBurn instead. I downloaded the free trial.
LightBurn is like the Cura slicer for 3D printers. It is the leading software for laser cutters. It works with most machines. I recommend it for its good interface and features.
One important note: if you buy a LightBurn license, you need the Pro version. This is for the Polar Light’s DSP controller.
Here are the steps to get your software ready:
- Connect the Polar Light to your computer with a USB cable. Make sure the machine is powered on.
- Copy the files from the included USB stick to a folder on your PC.
- Run the RDWorks file.
- Click the “Install USB Driver” section at the bottom. This will install the needed drivers for your computer to talk to the laser.
- You can close RDWorks after the drivers install. You do not need to install the RDWorks software itself.
- Download the free trial of LightBurn Pro from their website.
- Once installed, open LightBurn. Click “Find Laser.” Your OMTech Polar Light should appear in the list.
- Select the correct option from the list.
Setting Up the Camera and Auto Focus
The built-in camera is a useful feature. To set it up, connect the camera’s USB port to your computer. In LightBurn, go to the “Camera” section and select your camera.
You need to enable a few settings for the auto focus to work. Go to “Device Settings.” Then enable these three options:
- Enable Z Access
- Home Tech Polar
- Optimize Z Moves
Now you can load a piece of material. Press the focus button in LightBurn. The laser head will move down. It will touch the material and then return to the perfect height. This makes setting up for a cut or engraving very easy.
Running Your First Test Cuts
Before you start a real project, you should do test cuts. This helps you find the right speed and power for your material. Every material type is different.
LightBurn has a built-in test tool. Select “Seal Tool Test” for either cutting or engraving. Make sure the test area is set for the size of your material sample. Then click “Start.”
The laser will perform a test pattern. It will show lines cut or engraved at different speeds and powers. You can look at the results. Find the line that looks the best. Use those settings for your main project.
The whole process takes a bit of practice. The software is self-explanatory. There are also many good online guides if you get stuck.
Conclusion
The OMTech Polar Light CO2 laser cutter is a powerful tool. It fits well in a home workshop. The all-in-one design is a major advantage. You do not need to manage an external water tank. The setup process is straightforward if you follow the steps.
Unpacking the crate is the hardest physical part. The software setup is simple, especially if you use LightBurn. Running test cuts first is the key to success. It prevents wasting good material.
Now that my machine is set up, I can start my projects. I will be making acrylic parts for other tools in my workshop. The ability to cut custom acrylic opens many new doors.
If you are looking for a desktop CO2 laser, consider the OMTech Polar Light. Its design, features, and ease of use make it a great choice for makers and crafters.